Content Block Editor
The Content Block editor allows you to layout the sections of your page from top to bottom by using the reusable containers stored in Templates & Containers, then populating their contents in a variety of ways.
It’s a powerful tool, but not one that you’ll likely have to use very often for most websites after your initial website build is complete.
Adding a Content Block
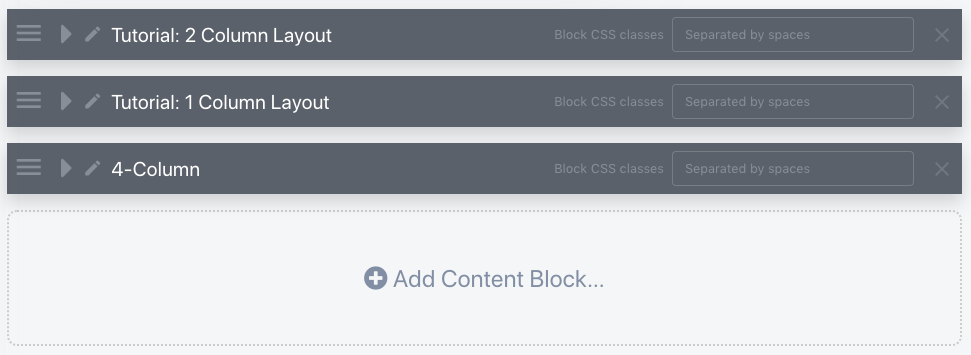
When you click Add Content Block, a window pops up showing you all of the containers that have been created for your site. Clicking one will add it to your page ready to be edited.
Content blocks can have zero or more placeholders for containers defined in their code. When you’re editing a content block, these placeholders are all displayed allowing you to choose and configure what you want to put in them.
Setting up container HTML attributes
If you’re building the frontend of your site, you can see how to set up content blocks’ container placeholders in the Developer Tutorial and the Developer’s Guide.
Content Block Header
The header for a content block includes several pieces of helpful functionality.

1. Reordering blocks
You can change the order of appearance of a content block on your page by clicking and holding the drag handle menu, and then dragging the content block it up or down.
2. Collapse/expand block
Clicking the disclosure triangle will expand the content block for editing or collapse it back to the header.
3. Nicknames
When you first add a content block, its name will be set to the original container type’s name. You can click on this name or the pencil create to the left of it to give your content block a nickname to help you remember what purpose the block is serving on your page or what its contents are. The original container type name will still be displayed so you always know what the underlying template is.
4. Block CSS classes
You can click the text box in the header to add or edit CSS classes that are applied to each block. What classes you have to work with is entirely up to what you or your frontend developer have built for your HTML/CSS. We’re evaluating how best to allow webmasters to define the CSS classes that may be used for blocks, parents, and containers, and how to expose that in this editor for ease of use in a future update.
5. Delete block
Finally, click the close on the right of a content block header to remove it from your page.
Configuring Content Blocks
1. Choosing contents
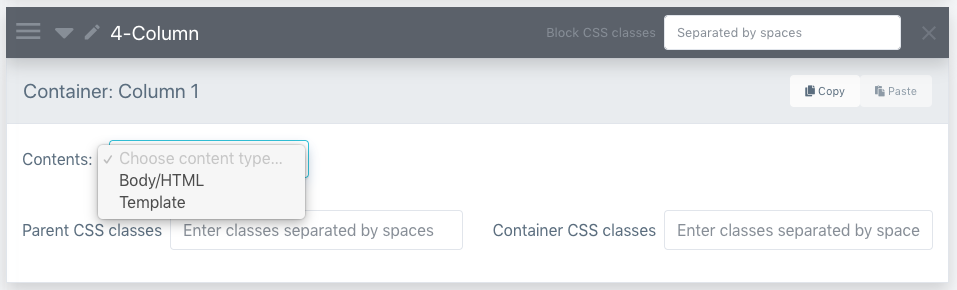
You can choose whether you want to fill your container with plain Body/HTML or use an object template, which opens up a large amount of customization options.
a. Body/HTML

This option lets you insert content straight into the content block’s container placeholder using Phosis’s standard WYSIWYG or HTML editor.
It’s generally recommended for content that only needs to exist in one spot on your site, like a privacy policy or About Us page, or if you need to paste in HTML for widgets like contact forms or social widgets.
For more information on this editor and its features, check out the Body Editor documentation.
b. Template
Choosing this option is how you can leverage reusable templates and data in Phosis. After selecting Template, another dropdown will appear so you can select the object template you wish you use.
We cover all of the options around using templates in the Using Templates section.
2. Parent & container CSS classes
Using these textboxes, you can add additional CSS classes for the container’s parent and the container element itself. For now, these should just be inputted as the CSS class names separated by spaces.
Parent CSS classes can be specified for every container placeholder defined in the container template and will be applied to that container’s parent only.
Container CSS classes get applied to the actual container DOM element defined in the container HTML.
Reminder
Remember, there are no built-in CSS classes for Phosis sites — so when you’re editing these classes, you or your frontend developer entirely control what options exist.